This article is part of a series of articles:
- Forging a Kubernetes cluster in your garage
- Preparing application deployment
- Prometheus grafana deployment in Kubernetes
- Deploying our first application
1. Creating the runner on gitlab.com
We will here configure our gitlab.com account (free) to use a local runner to our cluster that will allow us to automatically deploy our applications:
For this, at the root of our gitlab group:
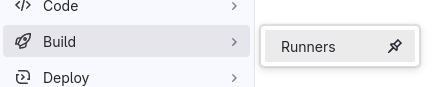
This brings us to the runner management window (you must have the OWNER role of the group), where you click on “New group runner”

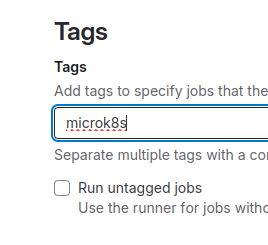
I advise you to put a specific tag (Here “microk8s”) and leave “run untagged jobs” unchecked so that shared and free gitlab.com runners do most of the work
Then, in the command
gitlab-runner register --url https://gitlab.com --token glrt-xxxxxxxxxxxxxxxxxxxxxxxx
retrieve the glrt-xxxxxxxxxxxxxxxxxxxxxxxx which is your runner authentication token
Then, create a gitlab-values.yaml file on the first machine containing (at minimum):
gitlabUrl: https://gitlab.com/

imagePullPolicy: Always

rbac:
  create: true
  serviceAccountName: gitlab

runners:
  config: |
    [[runners]]
      name = "microk8s-runner"
      executor="kubernetes"
      token = "glrt-xxxxxxxxxxxxxxxxxxxxxxxx" # <====== Your Token
      [runners.kubernetes]
         poll_timeout = 2000
         node_selector_overwrite_allowed = ".*"
         helper_image = "gitlab/gitlab-runner-helper:x86_64-bleeding"

securityContext:
  allowPrivilegeEscalation: true
  readOnlyRootFilesystem: false
  runAsNonRoot: true
  privileged: true
  capabilities:
    drop: ["ALL"]
If you want to go further, the documentation is here
Then, you will install the gitlab runner via helm:
creating the namespace for gitlab
microk8s kubectl create namespace gitlab
deploying the runner in this namespace
microk8s helm install --namespace gitlab gitlab-runner -f gitlab-values.yaml gitlab/gitlab-runner
The complete documentation for this installation is found here
and normally, if everything is good, you’re ready to deploy your applications!

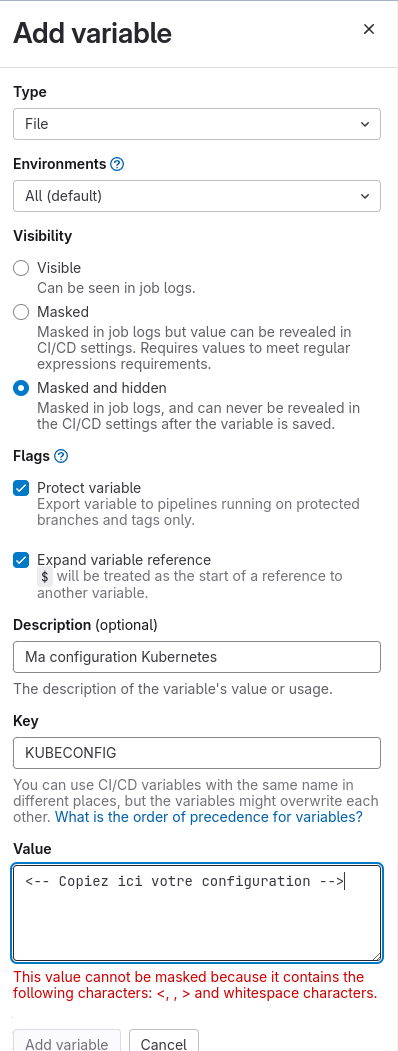
2. Importing our Kubernetes configuration on gitlab.com
First, if you haven’t done it yet, we will export our cluster configuration:
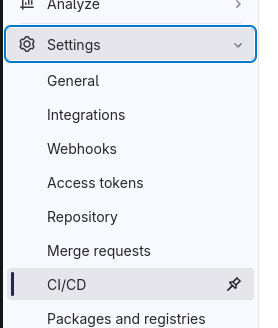
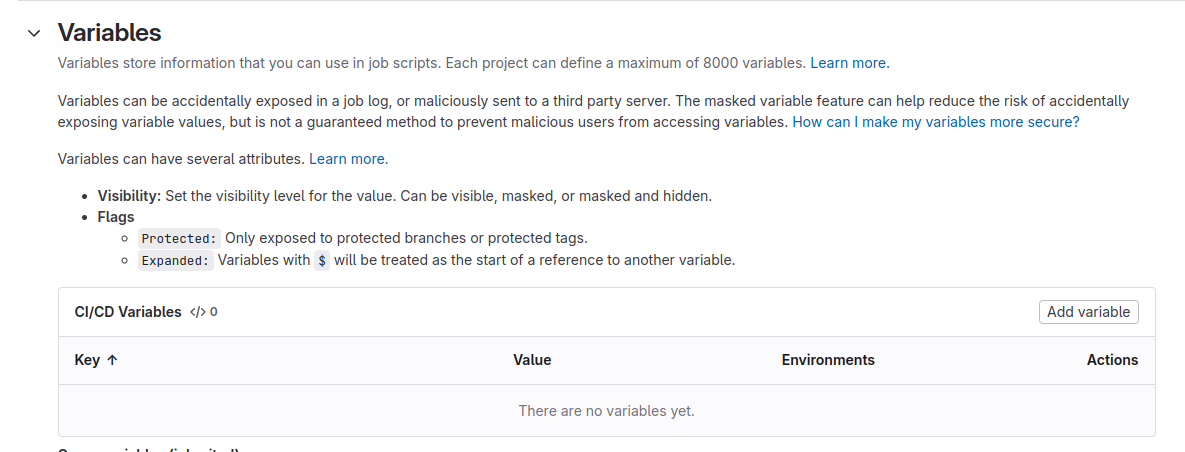
Go to gitlab CI/CD variables:
Then “Add variable”
Run the command on your server (always the same one):
microk8s kubectl config view --raw
Copy the command response into a “file” type variable: